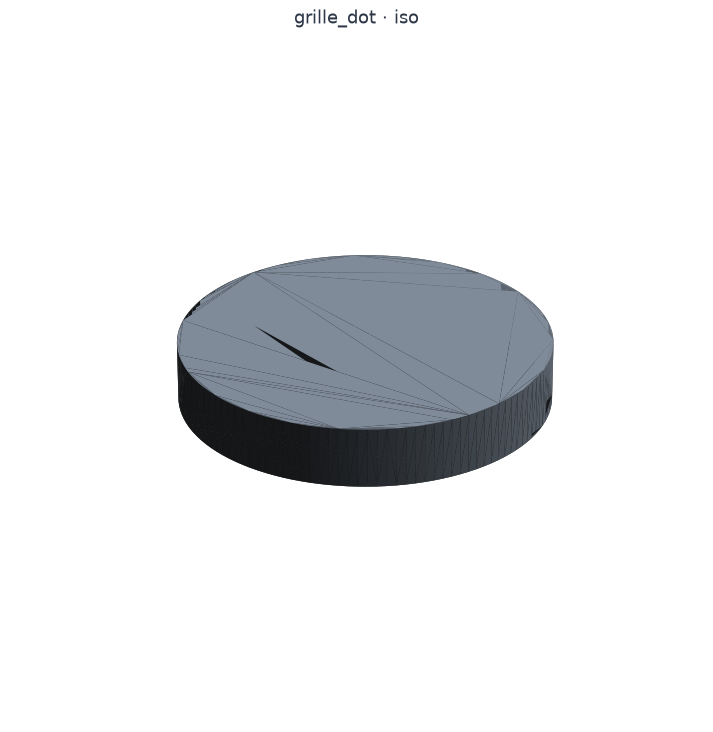
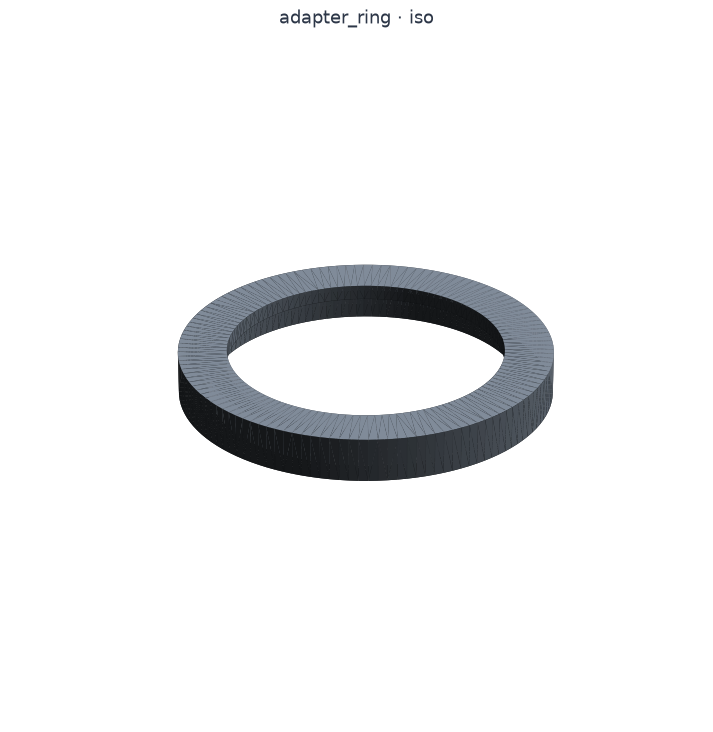
Spin the whole headphone, drag the slider to explode it, click any part to isolate it, then check the print list below for what each part needs.
4 min read
This is First Chair as an interactive model. Drag the slider to pull the assembly
apart and back together, toggle the sub-assemblies, or click any part to
isolate it and inspect it on its own.
Scroll into view to load · drag to orbit
Drag to orbit · scroll to zoom · slide to explode · pick one earcup and untick parts to focus · click a part to isolate it
The headphone is built from a small set of 3D-printed parts, one bought metal headband
bow, a pair of drivers, and a pair of commodity earpads. Everything below is what you
print to make one pair: quantities are per complete headphone (two ears).
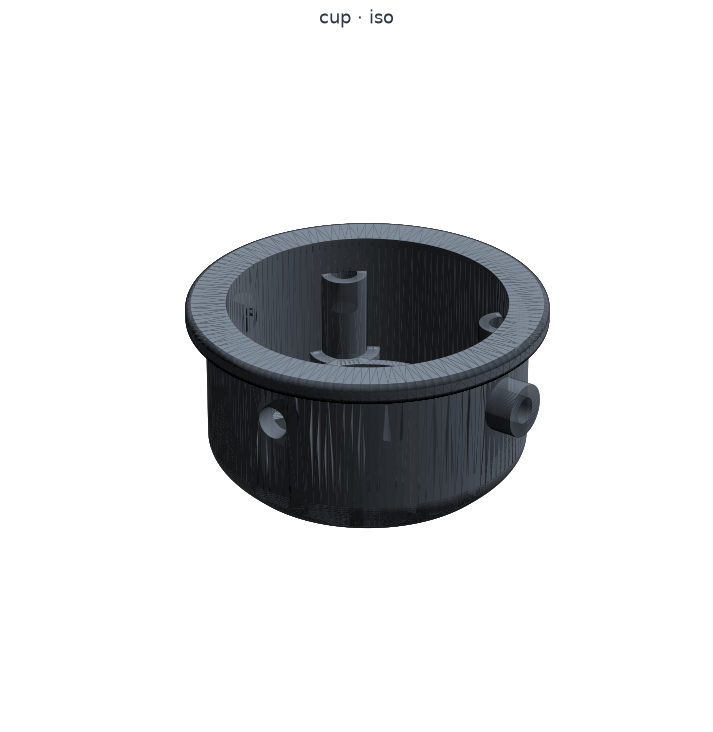
One-piece Ø48 shell with a Ø54 front lip overhanging it — that step is what holds the pad on. Rear triangular-lattice grille with the logo riding flush on it, four buttressed baffle bosses embedded in the wall, and the two yoke pivot bosses. Damping goes in from the front, baffle off.
Baffle×2
Material
PETG / PLA+
Orientation
Flat
Supports
No
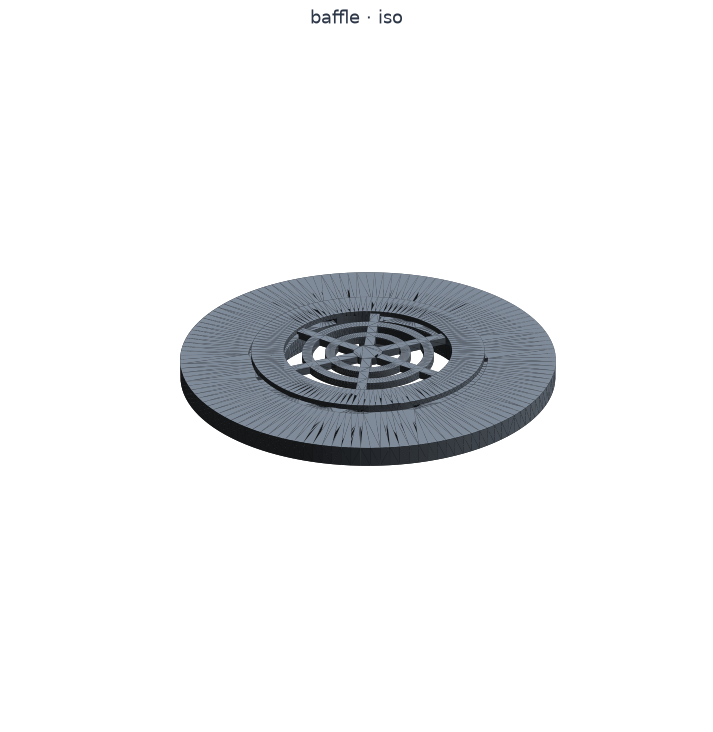
Separate front plate carrying the driver — deliberately separate so it is the part you iterate on. Aperture, printed guard, driver seat + locating collar, controlled vents, and 4 M3 holes into the cup bosses. Still on Daily Driver’s plate diameter; a rebuild at Ø54 is the next job.
Driver clamp ring×2
Material
PETG
Orientation
Recess up
Supports
No
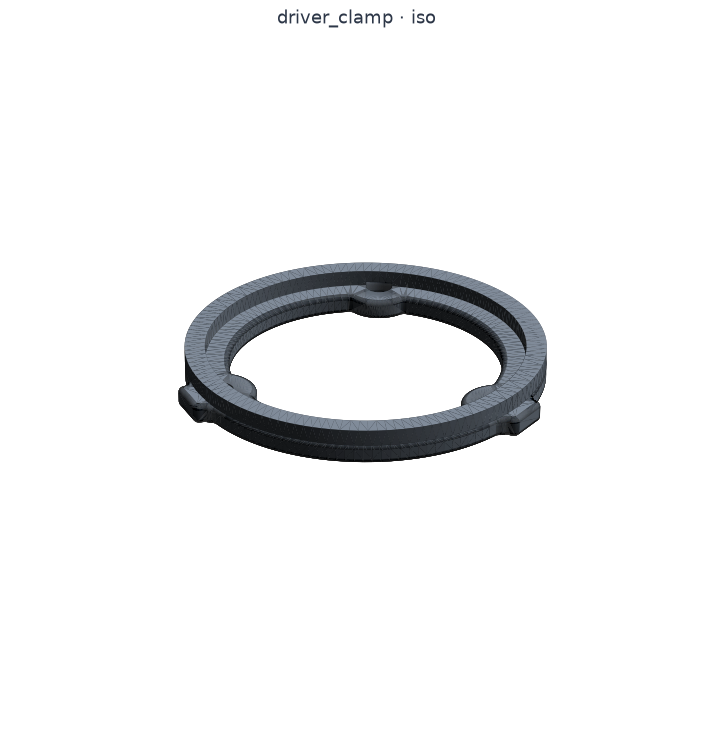
Holds the driver against the baffle back with 3 M3 screws — no adhesive, so the driver comes out again. Chosen for serviceability over manufacturability, which is this build’s standing tie-breaker: the user is a tweaker.
Bought part
Dynamic driver×2
Material
40 mm dynamic driver, ~32 Ω
Orientation
—
Supports
—
NOT printed. 40 mm is the standard and the design does not chase a non-standard part. A mockup appears in the 3D assembly so the driver ↔ baffle ↔ clamp fit reads.
Gimbal
Plus the bought hardware per pivot (M3 shoulder screws + brass heat-set inserts). See the bill of materials.
Fork-yoke×2 (L/R mirror)
Material
PETG
Orientation
Flat in its plane, layers along the arm
Supports
Minimal
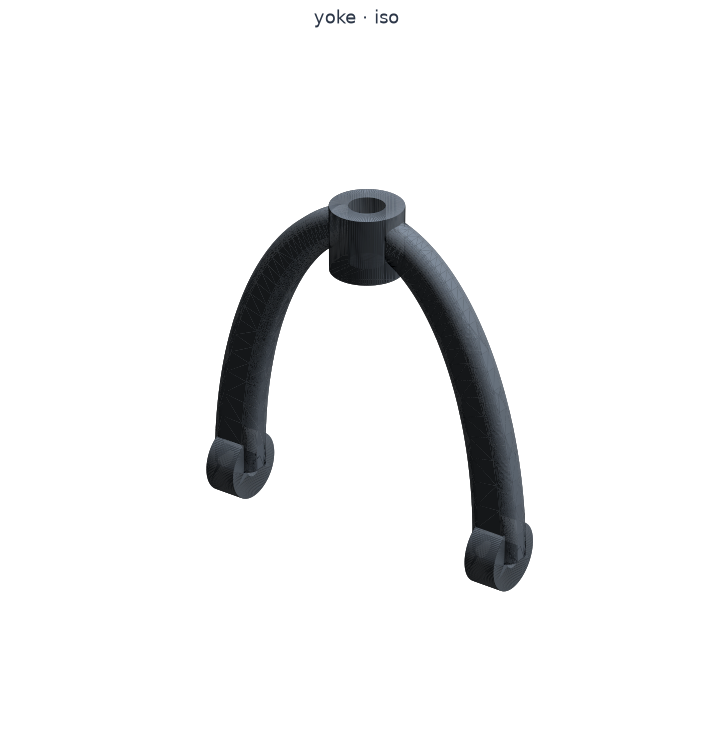
Fork from slider to cup, carrying the tilt axis on an M3 shoulder screw. Print orientation is not a suggestion here: the arms carry bending load and layer adhesion is the weak axis, so the layer lines must run ALONG the arm. This is the difference between a yoke that lasts and one that snaps.
Headband
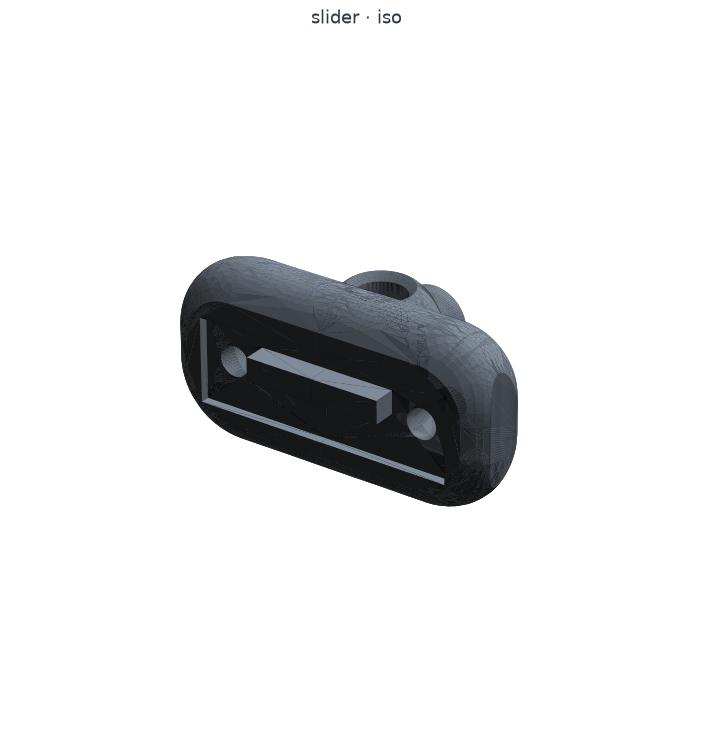
Slider×2
Material
PETG
Orientation
Post bore vertical
Supports
Light
Screws to the bow’s end tabs and carries height adjustment plus the yoke swivel. Screws are spent here on purpose — it is the one joint carrying sustained spring load, and using the tabs the bow already has retires it as a research problem.
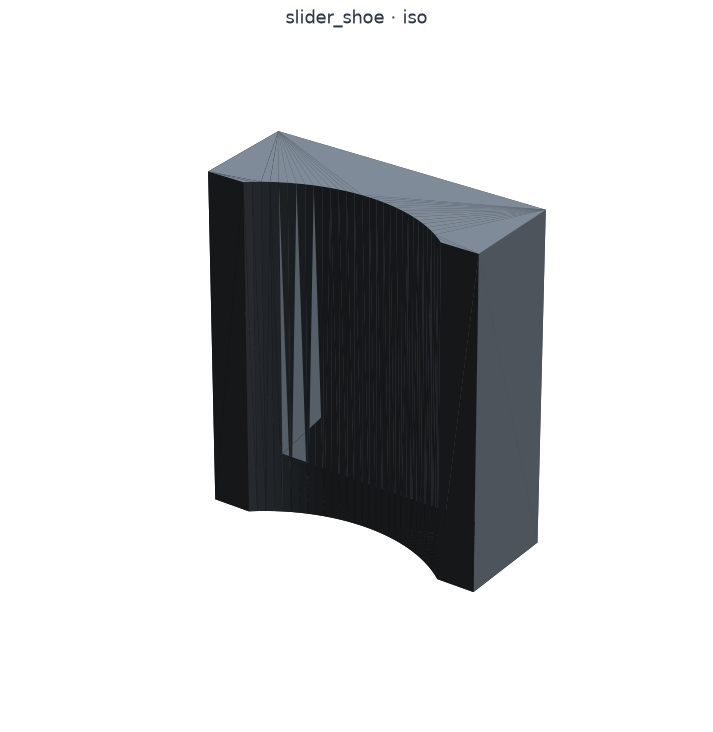
Pressure shoe×2
Material
PETG or Delrin
Orientation
Saddle up
Supports
No
Captive shoe between the lock knob and the post: the knob presses the shoe, the shoe cradles the post over an area instead of a point, so the height lock holds without marring the rod.
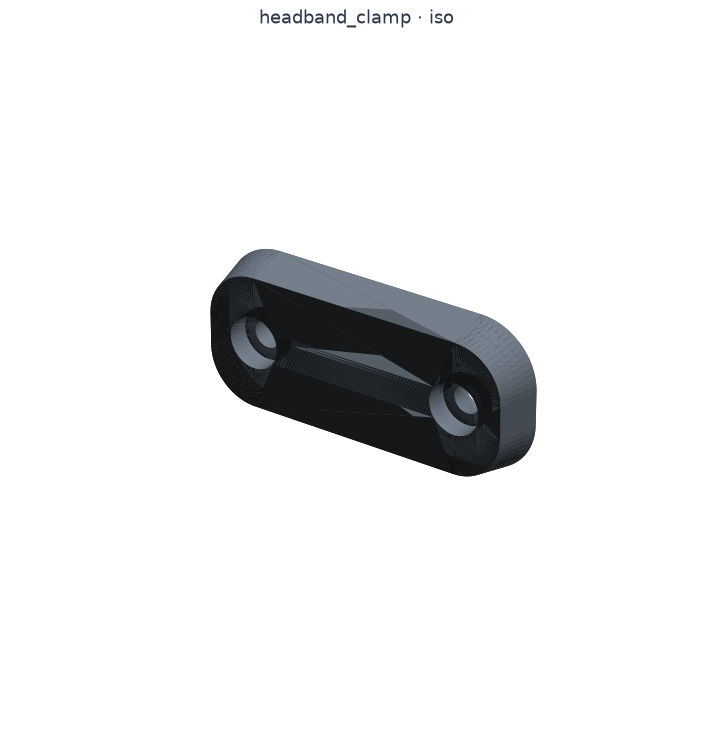
Bow clamp plate×2
Material
PETG
Orientation
Flat
Supports
No
Inner cover plate that sandwiches the metal bow end against the slider.
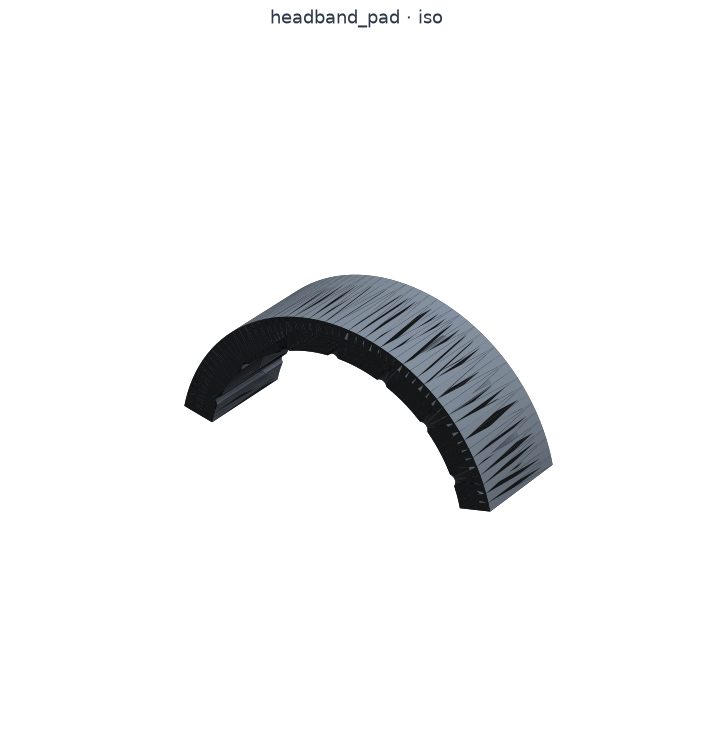
Headband pad×1
Material
Foam or printed TPU
Orientation
Arch on its side
Supports
Light
Crown cushion; the channel grips the bow. Still a rough draft — form and retention are open.
Bought part
Head bow×1
Material
Sprung steel bow — Beyerdynamic metal head bow (~$11)
Orientation
—
Supports
—
NOT printed, and deliberately so. No FDM plastic is a good spring: a printed headband works on day one and is loose by month three. Forming our own was tried with printed jigs and failed — the steel springs back and the jig deflects first. Note we are knowingly inheriting a circumaural’s arc until a bow is stocked to our own spec.
Earpads
First Chair ships no pad and designs none. The cup rim is built to the Grado pattern so the whole aftermarket fits — that is the one interface where we deliberately do not innovate, because diverging costs you every pad you could otherwise buy.
Bought part
Earpads (Grado pattern)1 pair
Material
Commodity Grado-pattern foam — genuine or aftermarket
Orientation
—
Supports
—
NOT printed and NOT in this repo. The foam stretches over the Ø54 lip and grips the Ø48 body behind it; it rotates freely but will not slide off. Swapping flats for bowls is the main bass-and-treble lever you have, and it costs about ten dollars instead of a reprint.
Optional
Logo accent capoptional
Material
Accent filament
Orientation
Any
Supports
No
Press-in cap at the grille centre. The logo is flush single-colour by default — add this only if you want the contrasting accent.
Driver adapter ringoptional
Material
PETG
Orientation
Flat
Supports
No
Step-down ring to host a smaller driver in a bigger baffle. NOT acoustically neutral — it changes the front cavity.
Most of the orientation notes above are about surface finish and support. Two of them
are structural:
The yoke prints flat in its plane, with the layer lines running along the arm.
The arms carry bending load and layer adhesion is the weak axis. This is the
difference between a yoke that lasts and one that snaps.
The cup prints grille-face-down. The lattice is self-supporting that way, and the
pad lip comes off the plate clean.
The bow. No FDM plastic is a good spring — a printed headband works on day one and
is loose by month three. This is the one bought structural part.
The pads. First Chair ships no pad and designs none: the cup rim is built to the
Grado pattern so the whole aftermarket fits. That’s deliberate, and it’s a feature —
swapping flats for bowls is your main tonal lever, and it costs about ten dollars
instead of a reprint.
The driver. 40 mm, ~32 Ω. A mockup appears in the 3D assembly above so the
driver ↔ baffle ↔ clamp fit reads.
For sourcing and rough costs, see the bill of materials in the
design spec. Each printed part is a starting point you
can modify — the model is fully parametric, so changing a driver, a pad, or the head size
regenerates the parts to match.